TeCoEd (Teaching Computing Education)
  • Home
    • Freelance
    • Book
    • Downloading
  • Python
    • Learn Python >
      • Python Modules
    • PyGame Zero
    • Python Programs >
      • Higher or Lower
      • Magic Calculator
      • Password Checker
      • Python Pit
    • What's News App
    • Pixels to Cells
    • Python Mosaics
    • Python OCR
    • L-1-AM
    • Web Scraping >
      • Scraping Trains
    • Weather App
    • Snakes and Windows
    • Python Web Server >
      • Flask
    • Python Picks
  • Raspberry Pi
    • All About the Pi
    • Getting Started
    • Remote Desktop and VNC
    • Static IP Address
    • Sonic Pi >
      • 3.14
    • Twitter Feed >
      • Tweepy
    • Android & Pi >
      • Advanced Apps
      • Odds
    • A.I on the the Pi
    • CRON
    • Pick Your Own
  • Pi Hardware
    • Pi HATS >
      • Sense Hat Hacks
      • AstroPi HAT
      • Unicorn-HAT >
        • Unicorn Alphabet Disco
        • Uni Codes / Programs
      • Skywriter
      • Piano HAT
    • STS Pi
    • Pi Camera >
      • Pi-Cam, Python & Email >
        • Time Lapse
      • Pi Noir
    • Pipsta >
      • Flask, Input & Printers
    • Raspberry Pi Power >
      • Energenie IR power
    • Pibrella
    • Distance Sensor
    • LCD Screen
    • Pi-Tooth
    • Robot Arm
    • PiGlow
    • PiFM
    • Accelerometer
    • PiFace >
      • Installing PiFace >
        • Python Commands
  • Pi-Hacks
    • Drone Hacks
    • Pi Glue Gun Hack
    • Blinkt!
    • Sonic Pixels
    • R2D2
    • Get to the chopper
    • Astro Bird
    • Twitter Translator
    • Hacking a Robot
    • Nature_Box >
      • Best Nature Photos
    • Wearable Tech >
      • Project New York
      • P.N.Y Part 2 Health
      • P.N.Y Part 3 Games
      • P.N.Y Part 4 Translation
    • Dino-Tweet
    • Other Links
  • Pi-Hacks 2
    • The Joker
    • Hologram Machine
    • Google Vision: Camera Tell
    • Yoda Tweets
    • Pi Phone
    • Darth Beats
    • Twitter Keyword Finder
    • Crimbo Lights Hack
    • Xmas Elf
    • Halloween 2016
    • Halloween Hack 2015
    • Socrative Zombie
    • Voice Translation
    • The Blue-Who Finder
    • GPIO, Twitter
    • Pi Chat Bot >
      • Dictionary Definitions
    • PiGlow & Email
    • Pibrella Alarm System
    • SMS with Python >
      • Spooking a Mobile
  • Pi-Hacks 3
    • David Bowie
    • Lamp Prank >
      • TEST
    • Yoda FM
    • Retro Player
    • LED Pixel Art
    • TARDIS
    • Battleships
    • LED Board
    • Night Vision
    • Enviro+ Weather
  • Minecraft
    • Minecraft API
    • Minecraft Sweeper
    • PiGlove: Minecraft Power Up
    • Minecraft Photo-booth
    • Rendering Pixels
    • Speed Cube
    • Lucky Dip
  • Computing
    • Why Computing?
    • Can You Compute
    • micro:bit
    • Coding Resources
    • Learn to Code >
      • Coding with iPads
      • Apps Creation Tools
      • sKratchInn
      • Sound Editing
    • Cheat Sheets
    • Theory
    • HOUR OF CODING
    • BEBRAS Computing Challange
    • Computer Facts
    • Free Software and Links
  • Contact Me
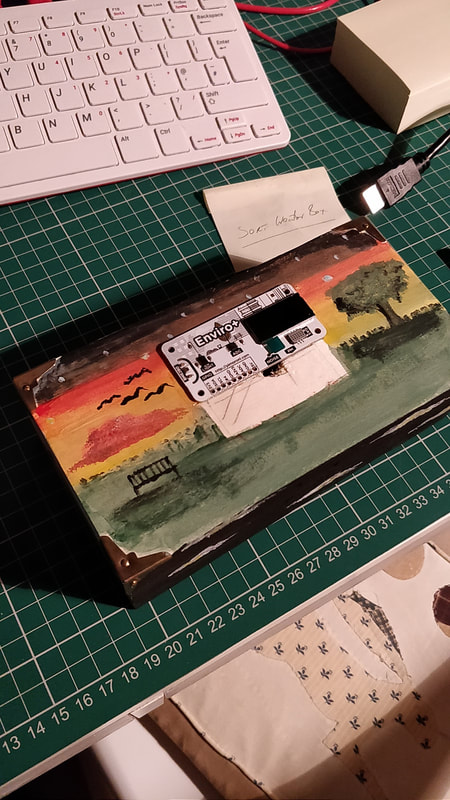
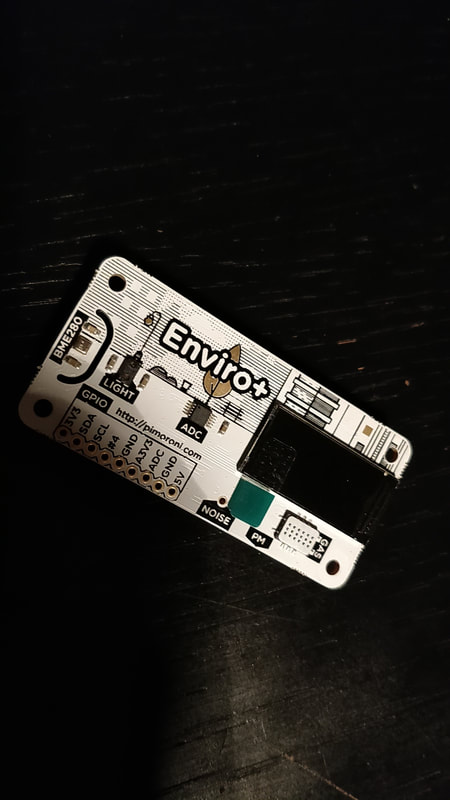
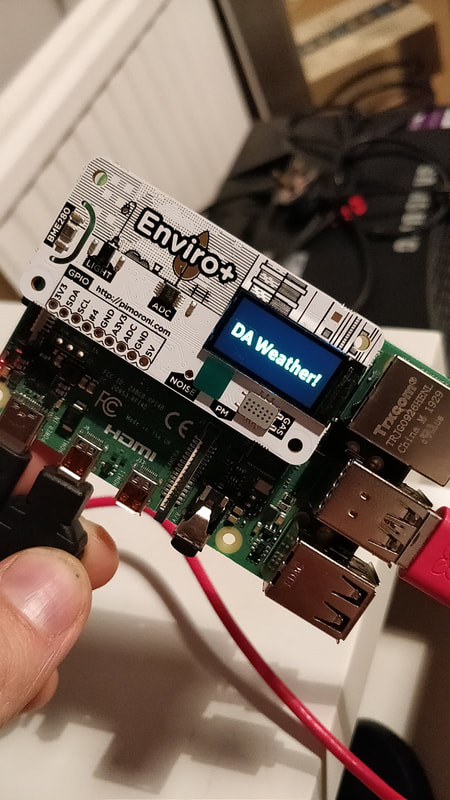
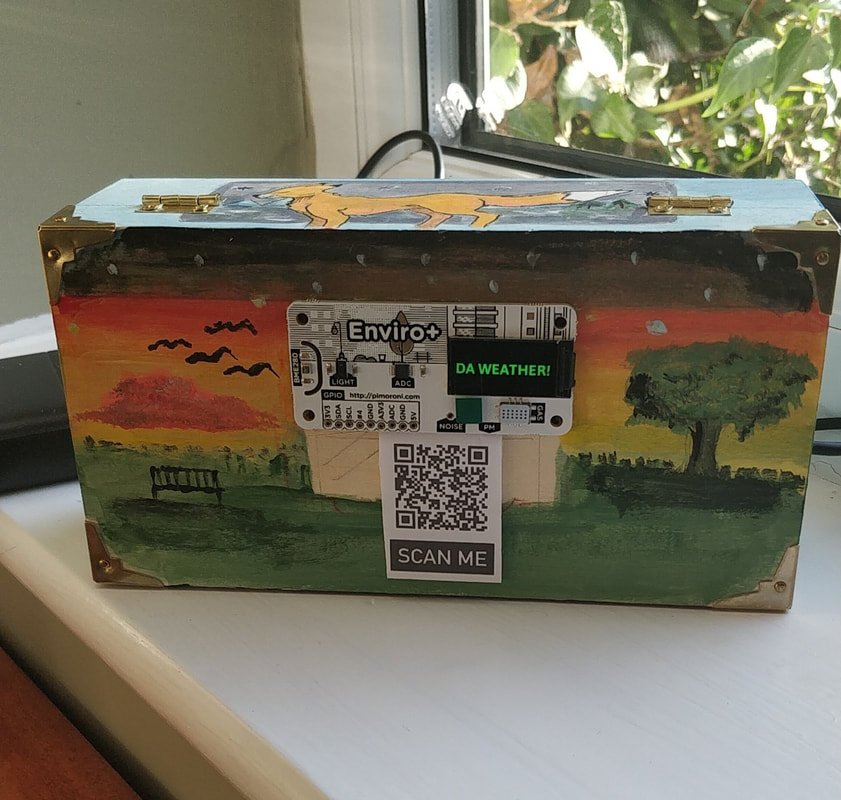
The Pimoroni Enviro+ is an excellent piece of kit that boast numerous sensors, inputs and outputs.  (Such as BME280 temperature, pressure, humidity sensor,  LTR-559 light and proximity sensor, MICS6814 analog gas sensor, ADS1015 analog to digital converter (ADC).  You can see more details here.  It even has a small 0.96 colour LCD screen.

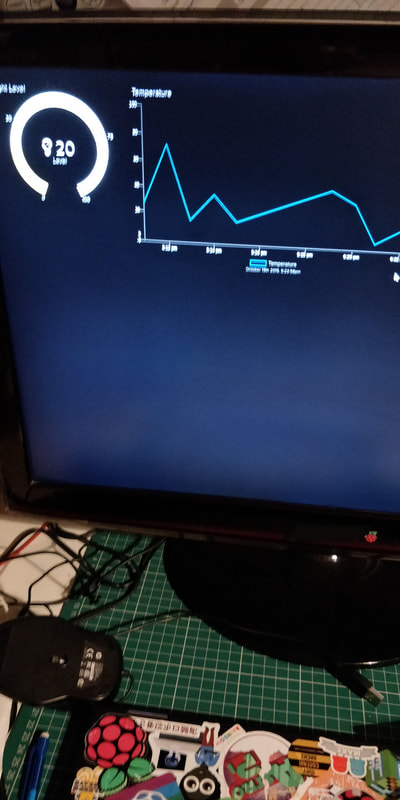
I wanted to create a project where I could collect data from the sensors and then display this data in real time.  Thanks to @  who pointed me in the direction of Adafruit's.io. A really simple way to send data to a visualisation Dashboard which is sweet and looks cool.   You can see my Dashboard
here:  

Setting up Adafruit.io


Setting up Feeds


Creating a Dashboard


​Using Python to send the data
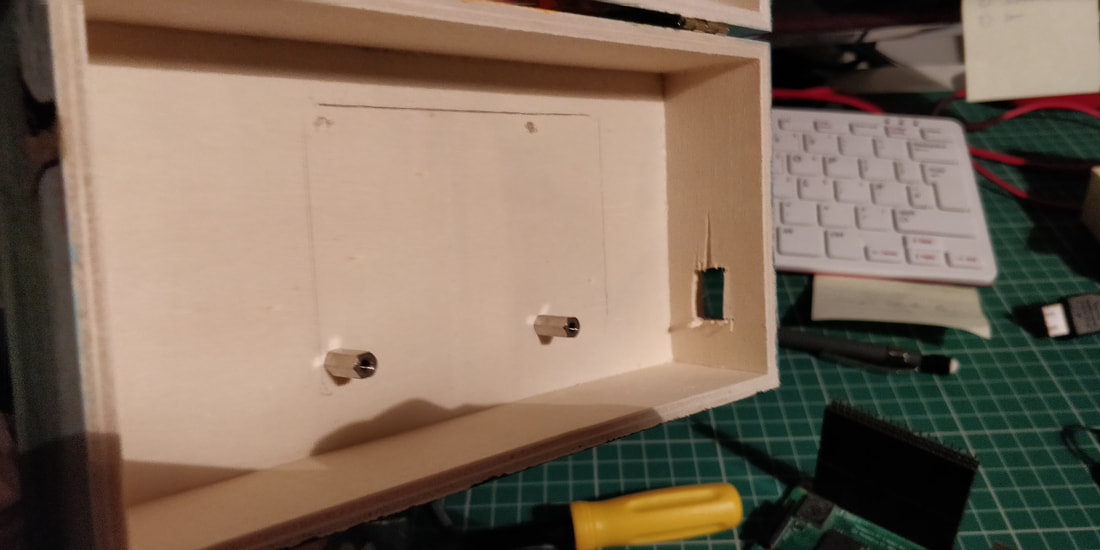
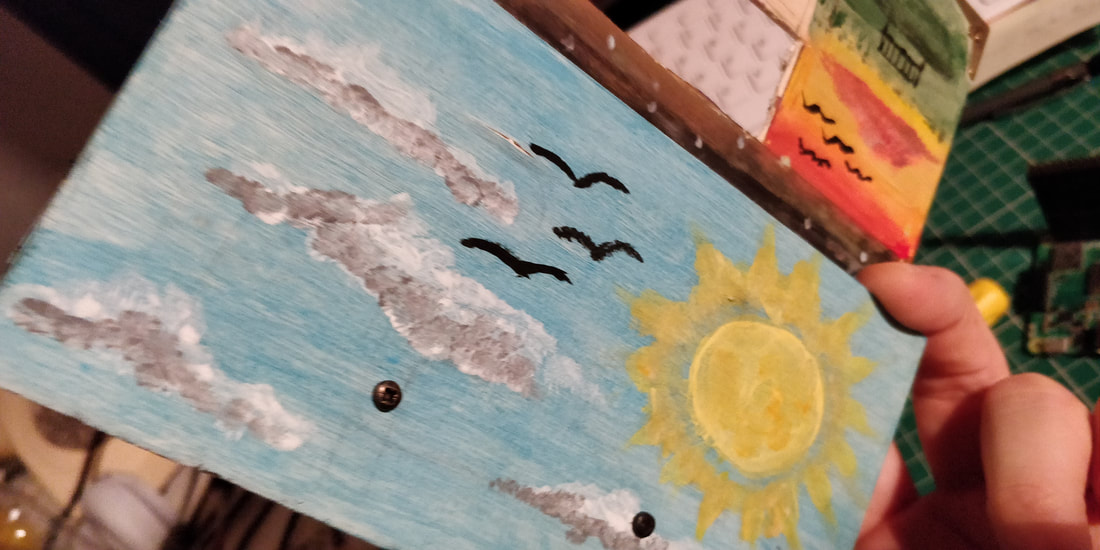
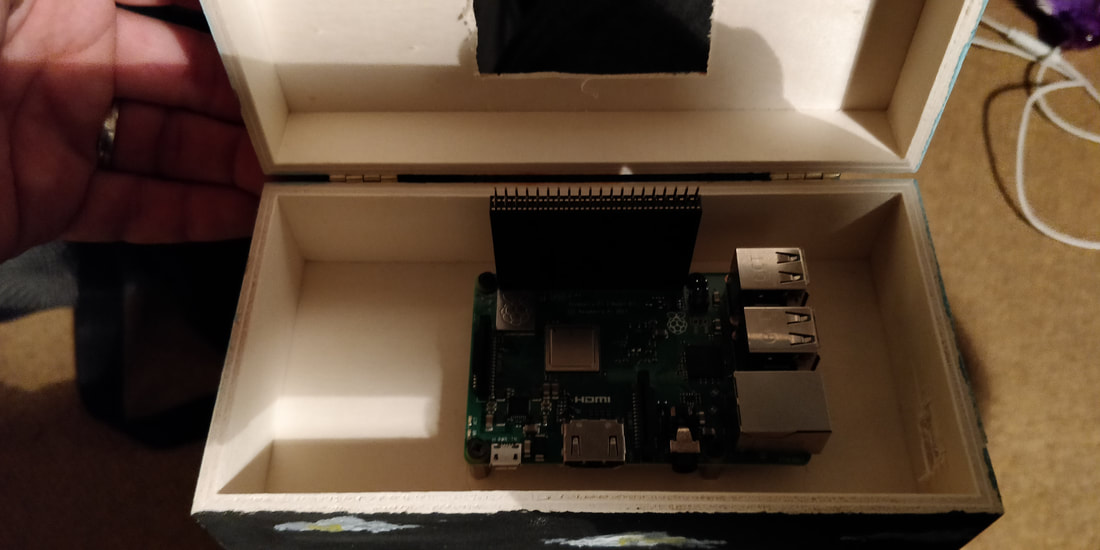
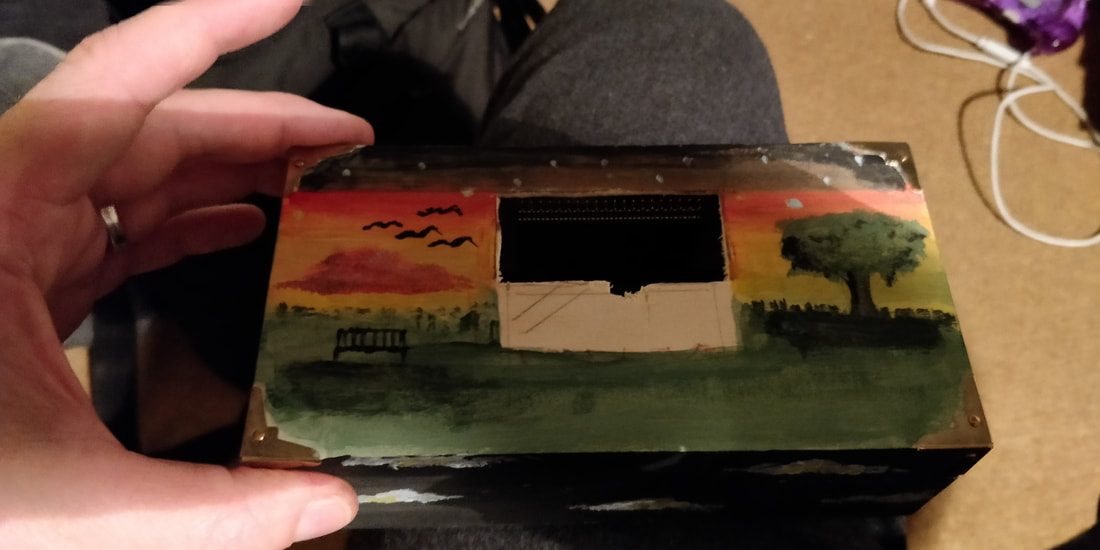
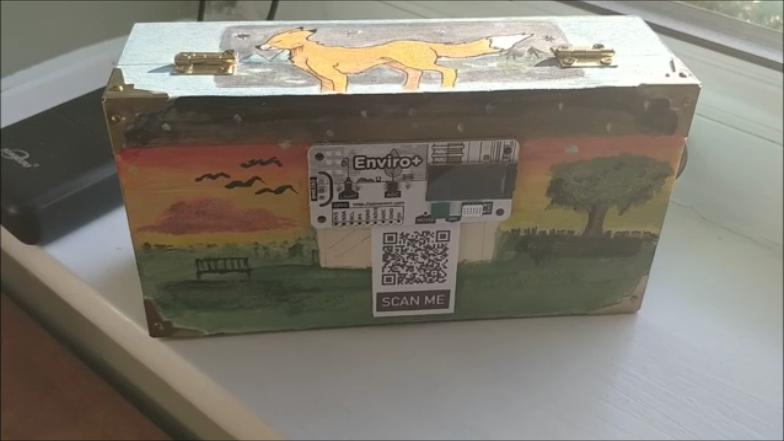

Creating the Box

Adafruit.IO makes it really easy to use Python code to extract the data from the Raspberry Pi and then push it to a Dashboard.  This is done with the use of 'feeds' which are updated in real to with the Sensor readings from the Pi.  These feeds are then used to build the Dashboard.

First install the Python module:
pip3 install adafruit-io

To send the data to the feeds you use the code:

# Import library and create instance of REST client.
​from Adafruit_IO import Client aio = Client('YOUR ADAFRUIT IO USERNAME', 'YOUR ADAFRUIT IO KEY')
# Add the value 98.6 to the feed 'Temperature'.
test = aio.feeds('test') aio.send_data(test.key, 98.6)


More details and a worked examples are shown in the videos above.
You can download my starter version of the program here

The full Adafruit.IO docs and guides are here: 


Copyright 2020 TeCoEd @dan_aldred