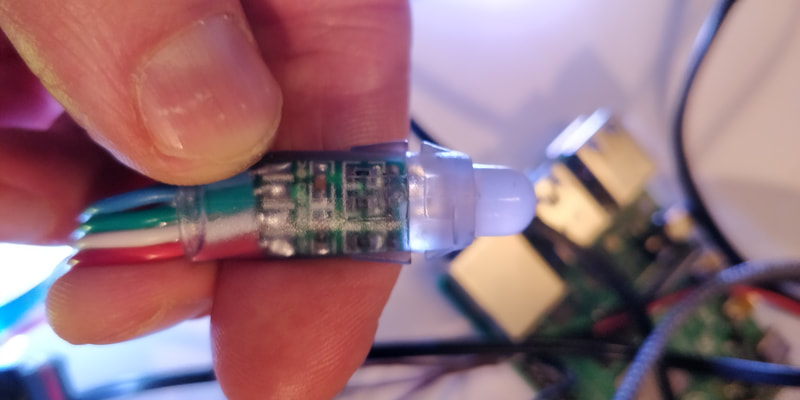
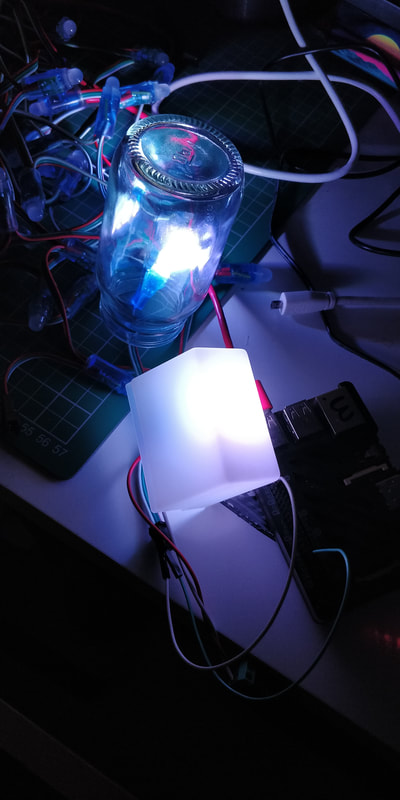
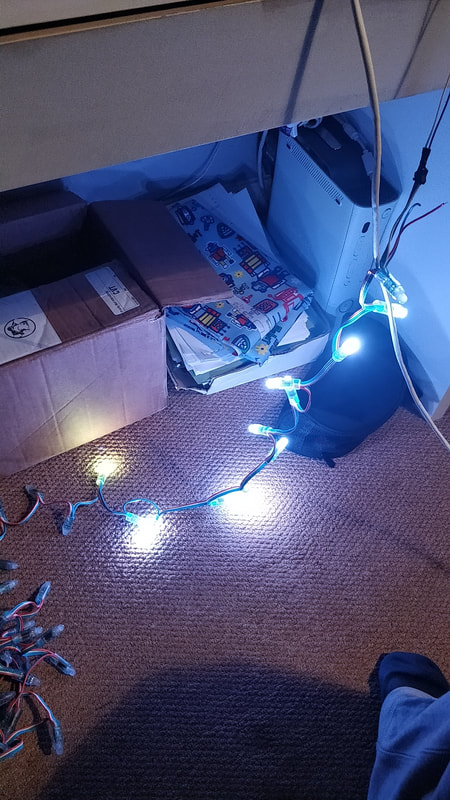
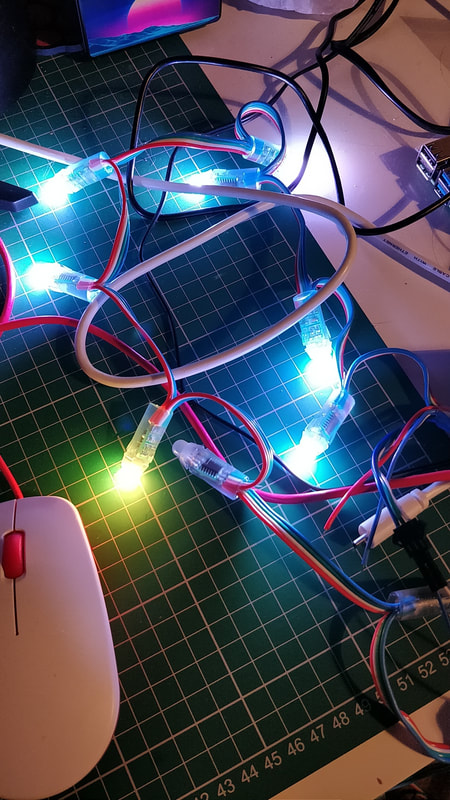
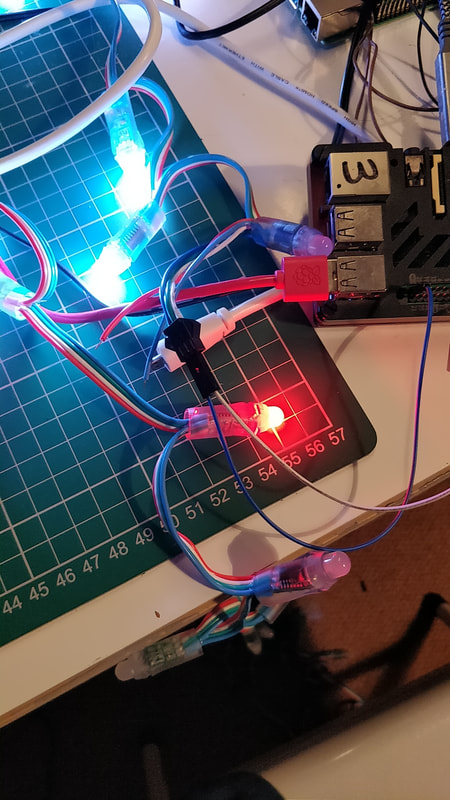
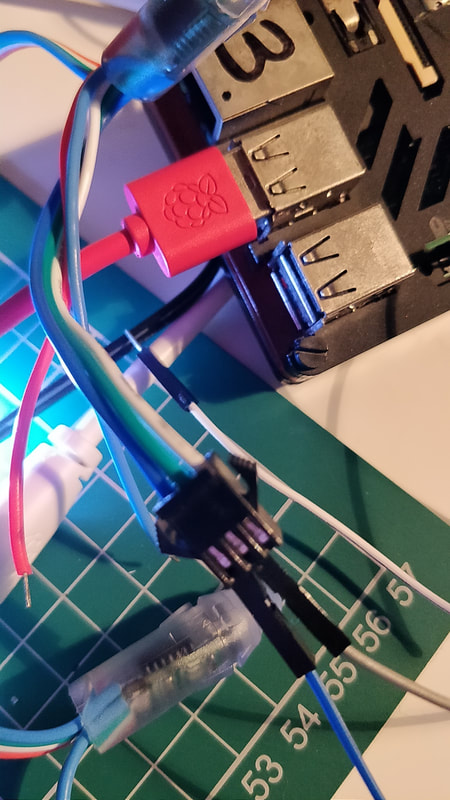
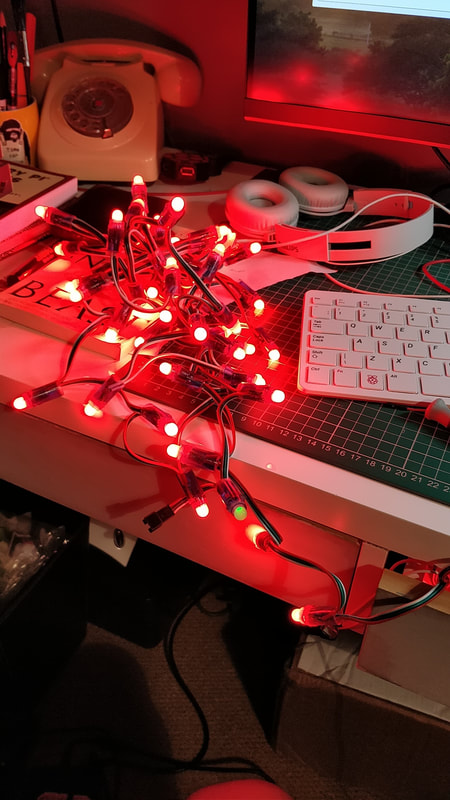
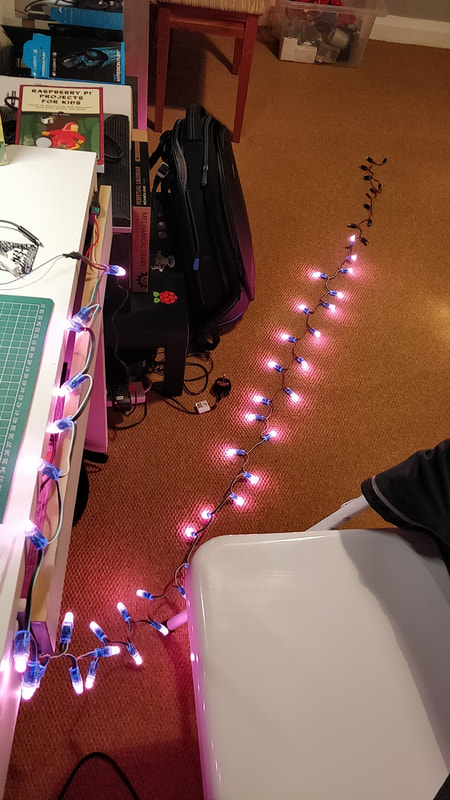
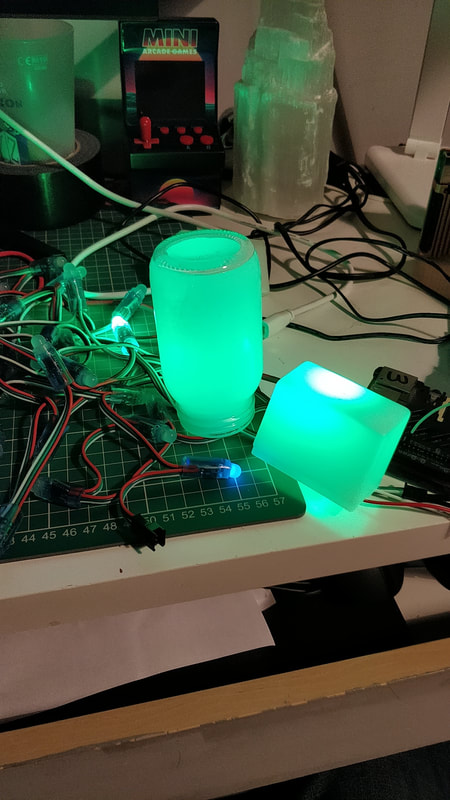
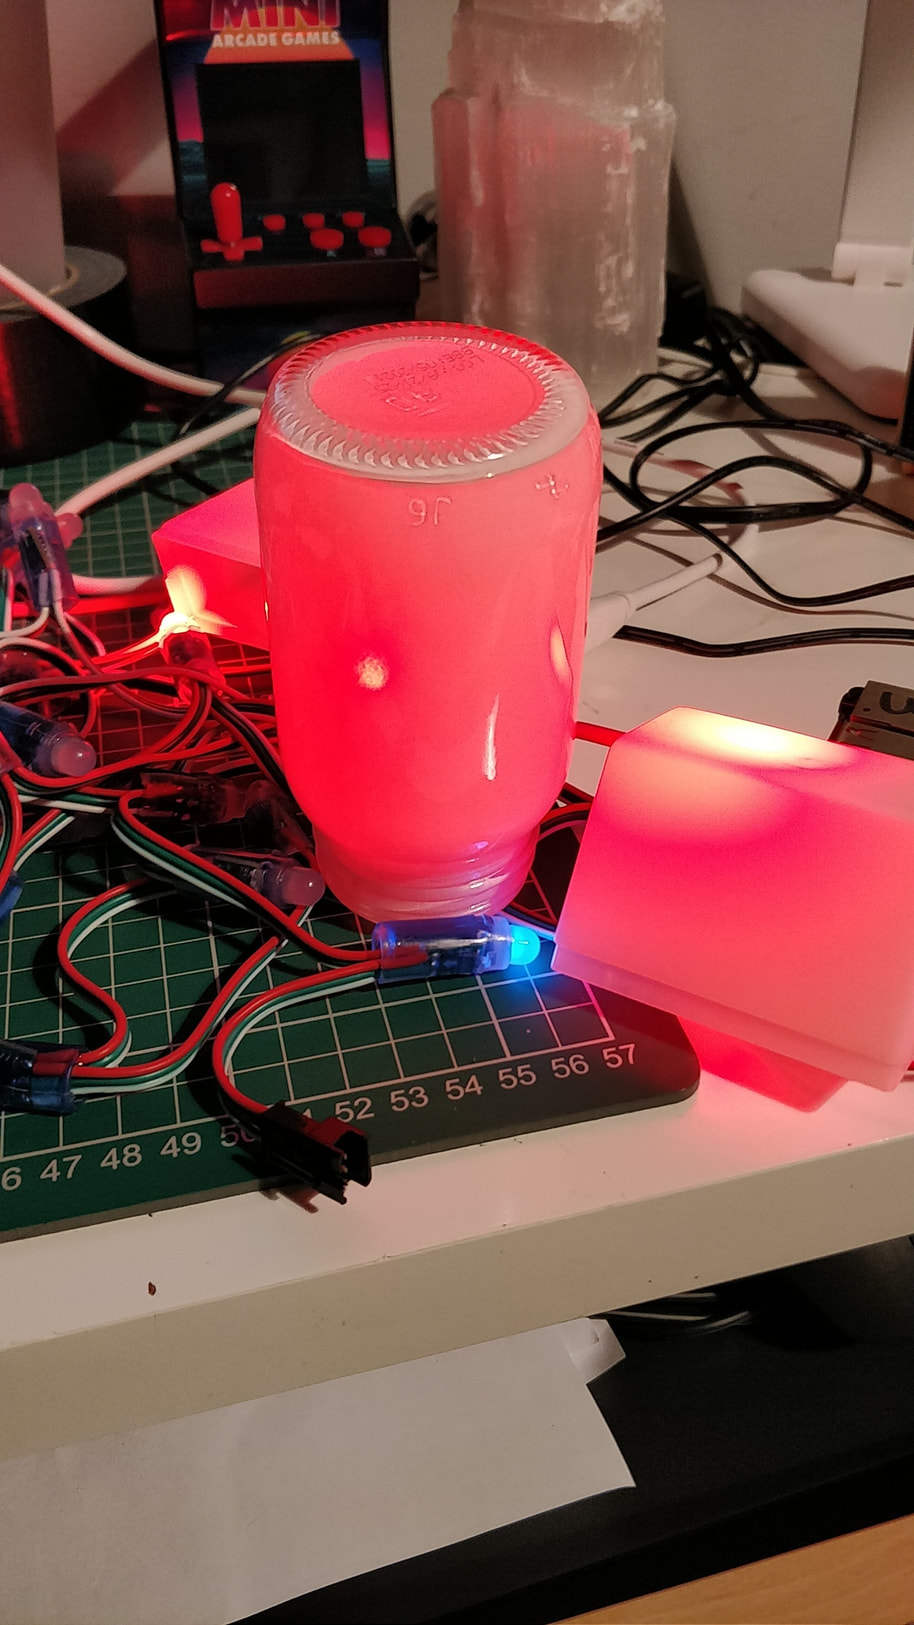
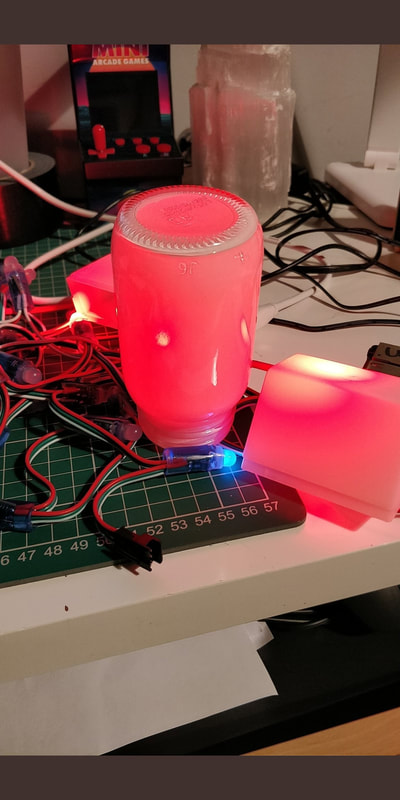
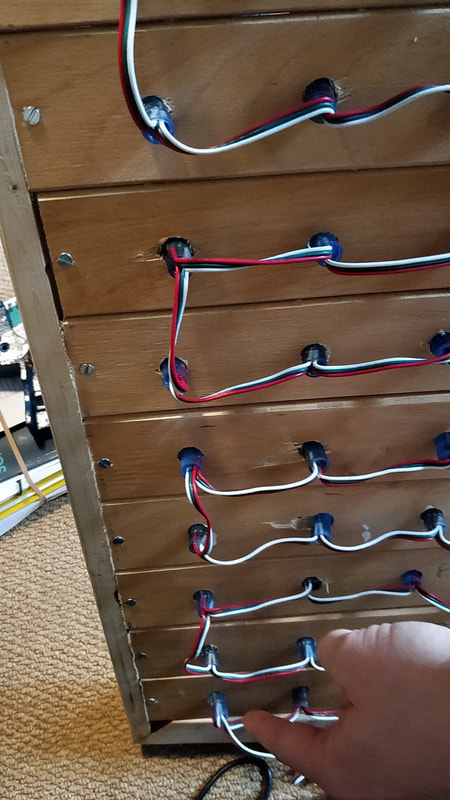
10 x 10 Giant LED BoardI have been excited about LEDs for a long time and decided that I would create some sort of LED matrix or board. I bought the LEDs back in November 2019 but really struggled to get them working with the Raspberry Pi and Python code. However, thanks to Lorraine Underwood I got started, wired them up and created a short program to flash them on and off. To wire the LEDs correctly you need to check for the data arrow indicating in which direction the data flows. This is not the same across all the LED chains, I even purchased three sets of 50 from the same manufacturer and the data was different on each.
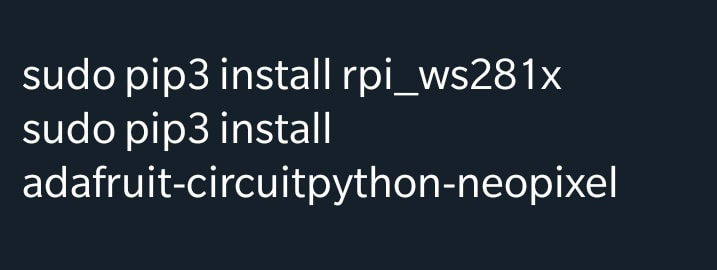
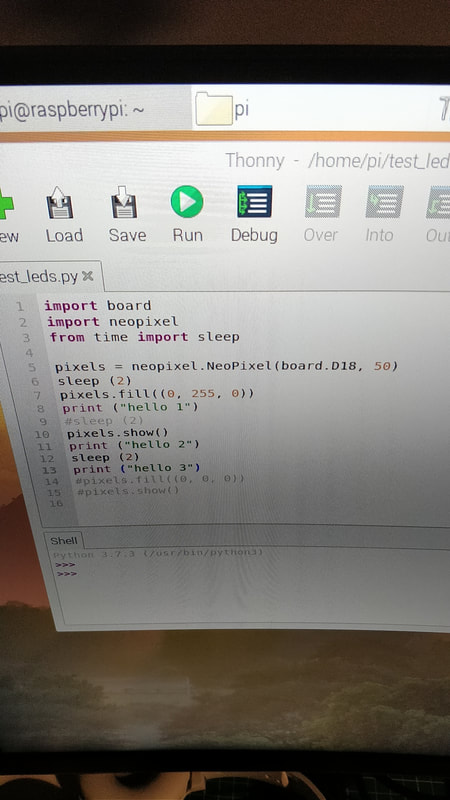
Install the NeoPixel SoftwareCheck out the video on the right which gives you a detailed walk through of setting up the WS2811 LEDs . Install the Python libraries, typing the code below into the Terminal. Try out the test program, remember to run your program from the Terminal using Sudo.
|
Wiring up the LEDs |
Building the LED board
|
|
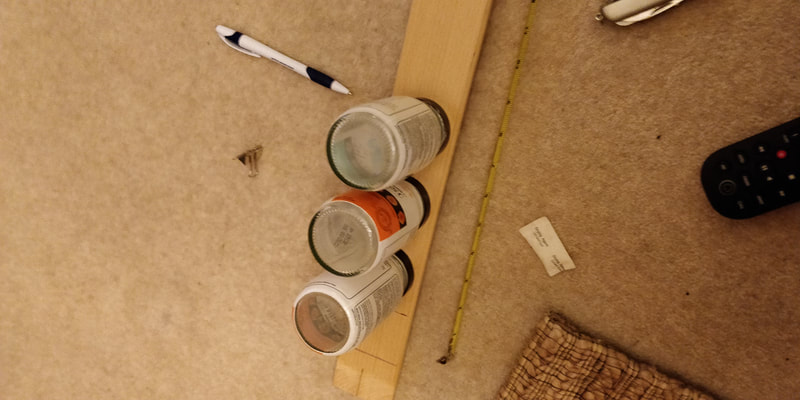
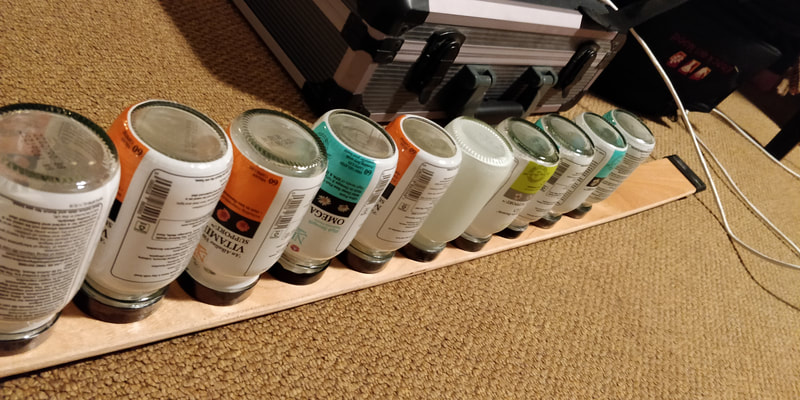
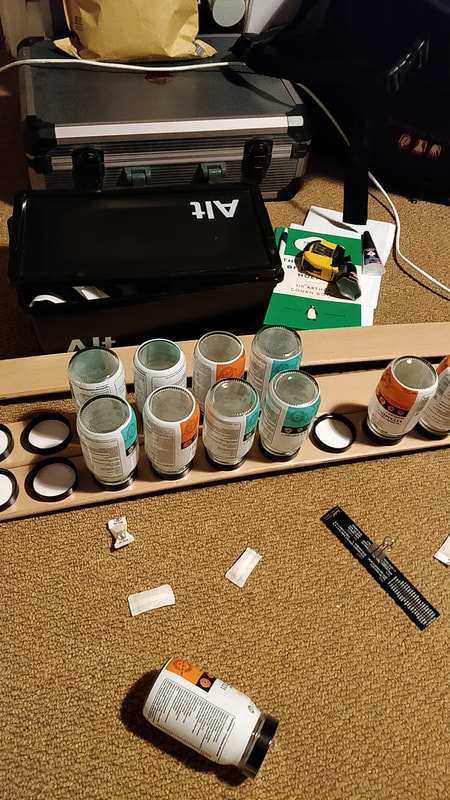
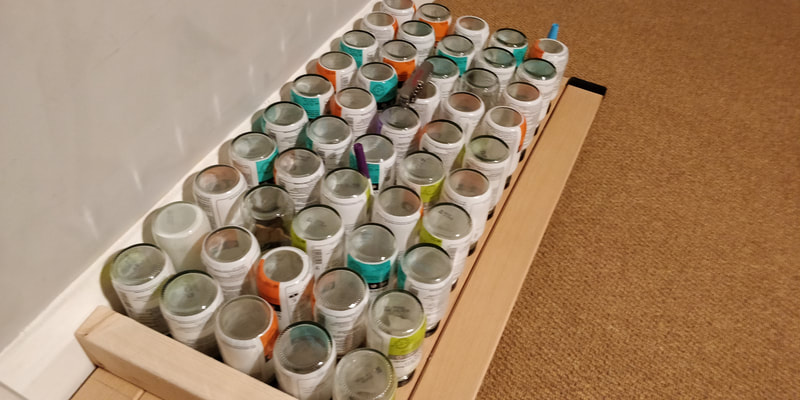
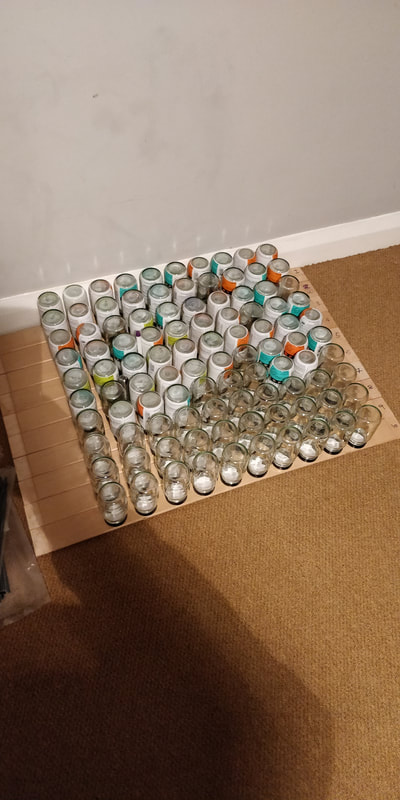
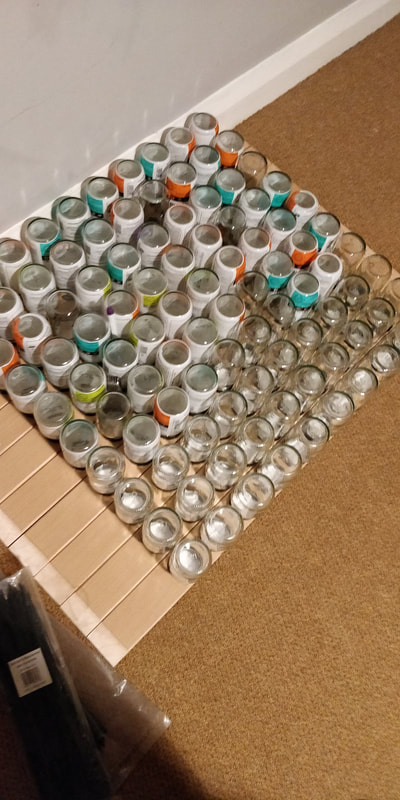
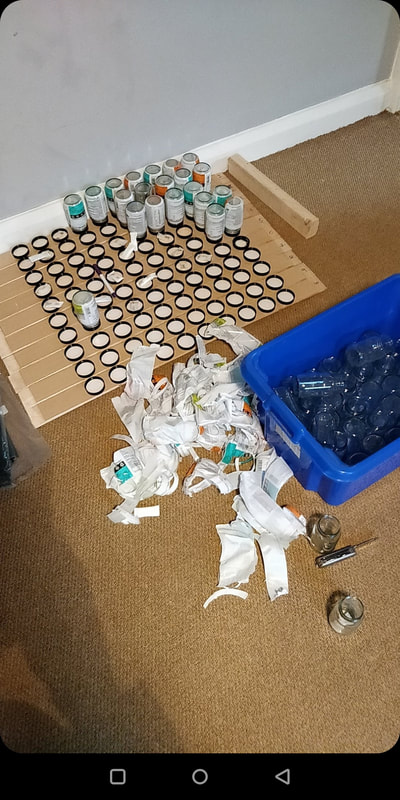
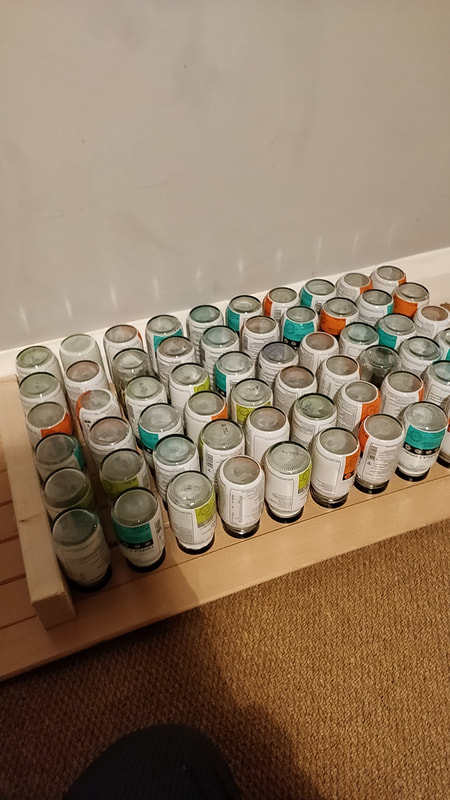
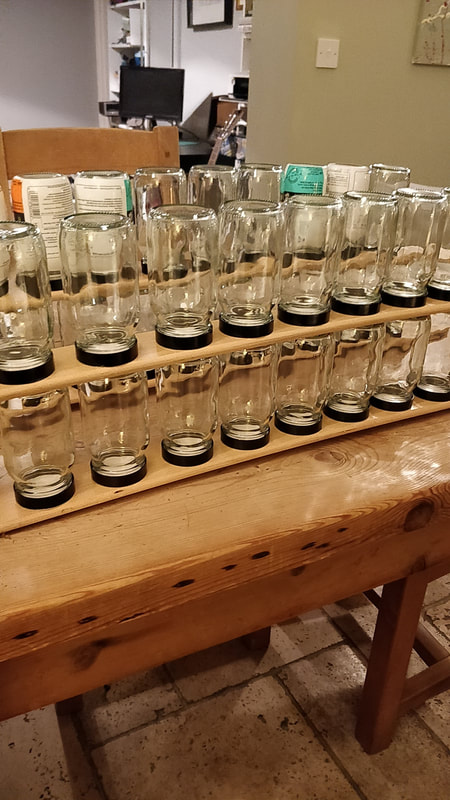
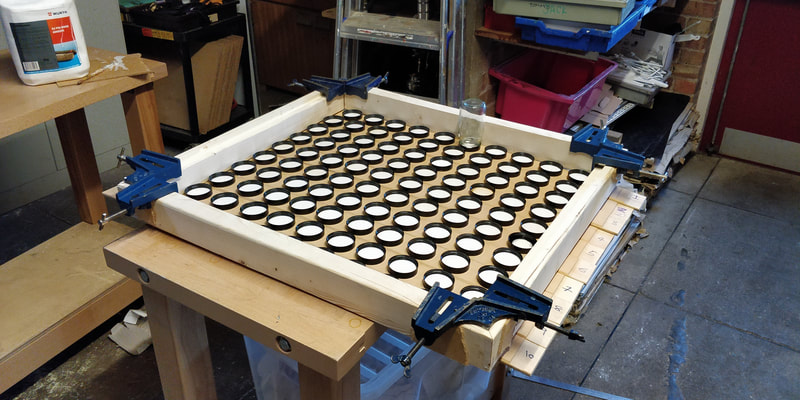
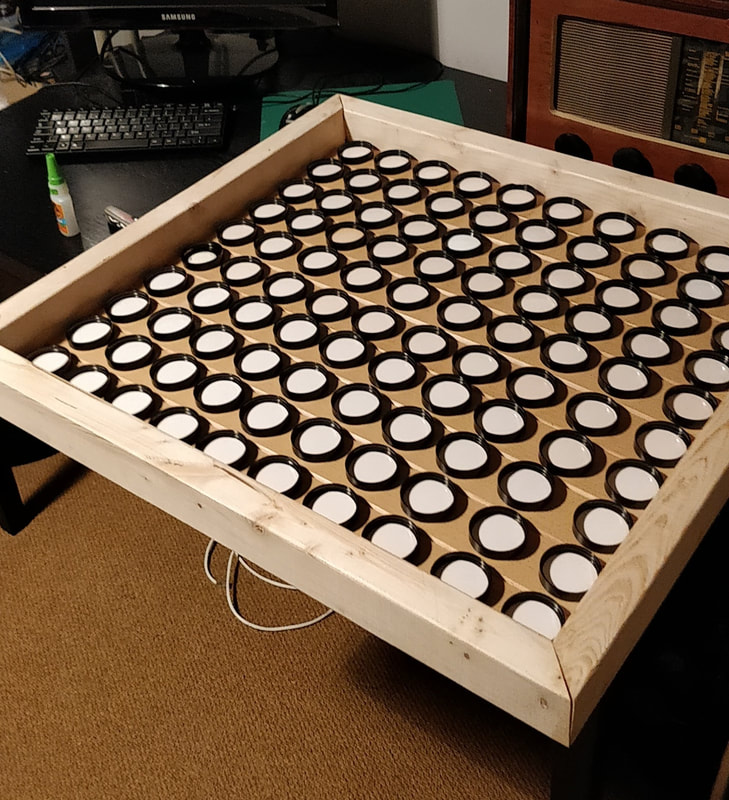
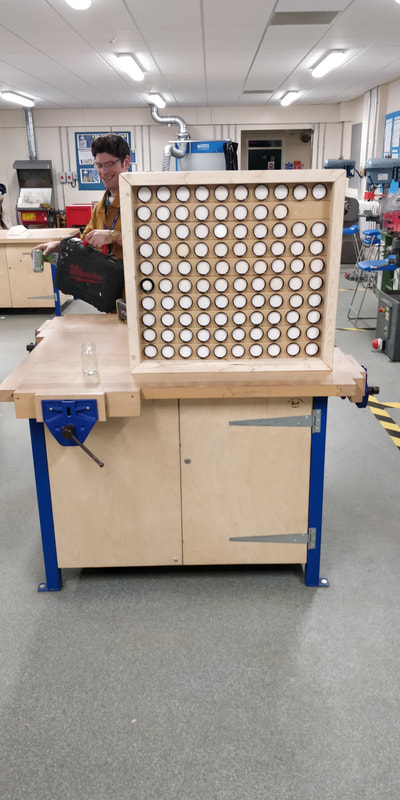
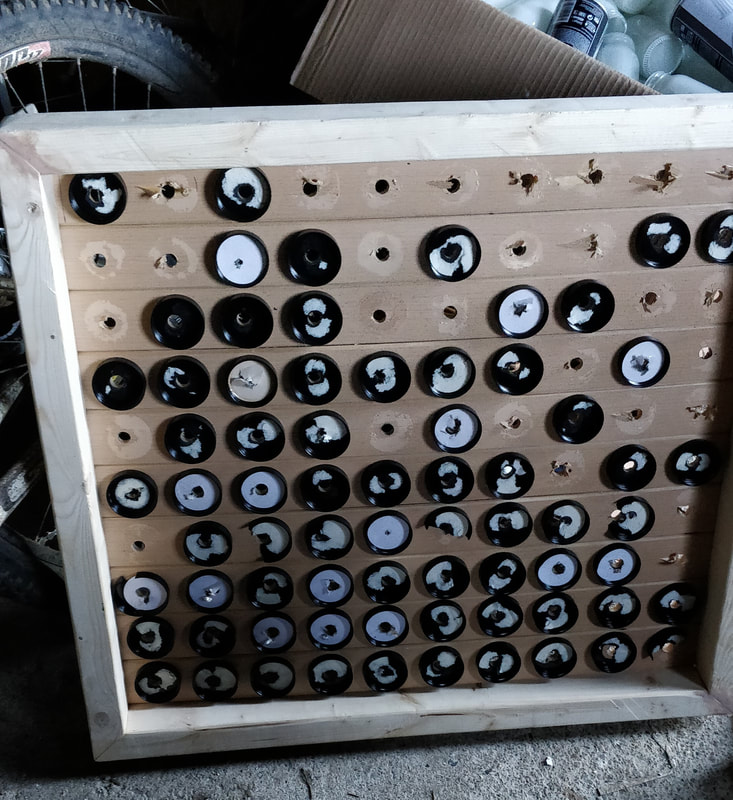
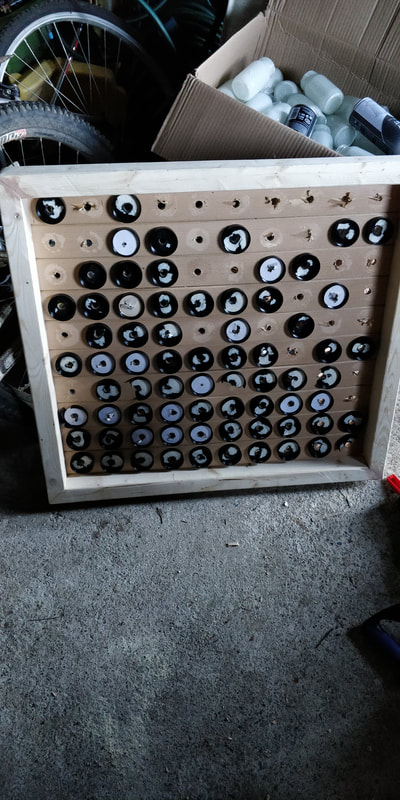
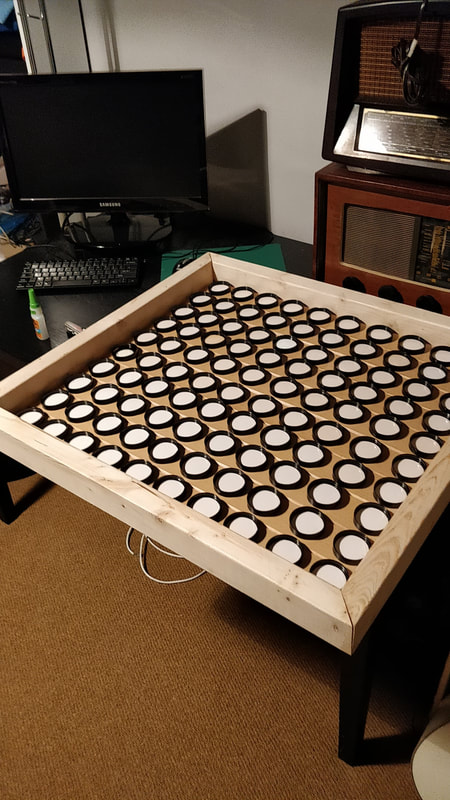
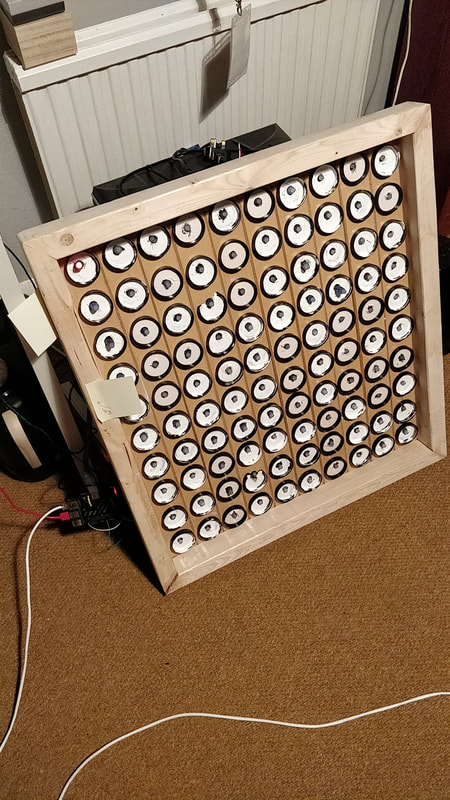
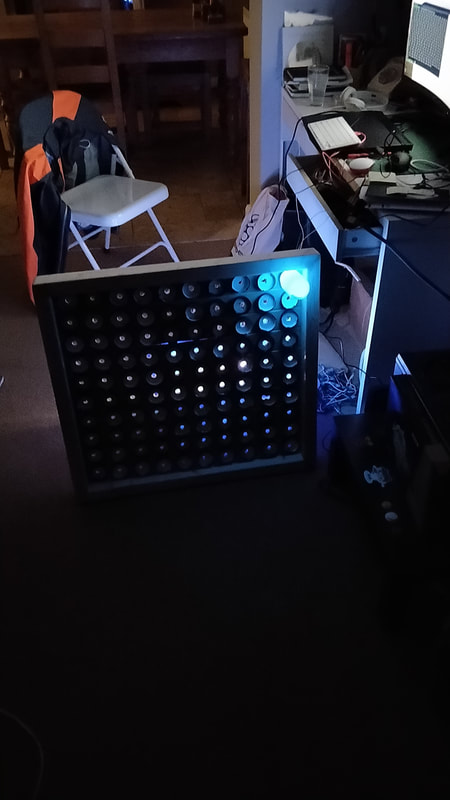
The full build of the LED board was a lot of fun. I have made a video that shows all the stages, getting the bottles ready, spraying them, attaching them to the bed slates, creating the frame, fitting it altogether. Sticking and spraying 100 bottles was not fun and become very boring so I set myself 20 a day, although I stuck all the bottles in place over two evenings. Thanks to Tim Morris who helped me in his workshop to create the frame and sand it down. Thanks also to Martin Mander for his clever idea to spray the bottles white to diffuse the LED glow across the bottle. This means that you can look at the board without getting blinded, saving you from a headache and also your eyes!
|
Key Learning and Fails
|
1) The biggest headache was drilling to holes for each LED, I had already glue the bottle lids onto the slates, when I drilled the first hole it split some of the lids. I had to drill 300 plus holes as I started with a small guide hole, then used a medium drill bit before the final drill bit. It was very chewiee!
2) The wooden frame was made at work but when I got it home one of the sides had split. At this point I had already fitted each LED, so I simply used a nail to bang the frame in place! 3) To save using the Terminal to run the Python program each time, you can open the Terminal and type 'sudo idle' this opens IDLE in sudo mode and you can run the LED programs directly from IDLE. 4) The LED programs uses a modified version of the Pimoroni Unicorn HAT API which covers the 100 LEDs (previously 64) it means that I can use the Pimoroni programs to control the LED board, much easier! |
5) Creating the array to store each LED was easy apart from the layout of the matrix, it was not a simple 0,1,2,3 linear layout, I had to try several layouts to get the correct order.
6) Where possible I tried to use recycled wood and materials. The bottles are from vitamins that are in the house and the slates that the bottle lids fit onto are from an old bed that was filling up the shed! 7) Glue - I originally used super glue to stick the bottle lids to the slates, but when I started drilling they sheered off! Gorilla Glue was the solution, now they are stuck firm. 8) I wrote a really simple program to pull out the RGB values of each pixel in a 10 x 10 JPEG and then turn on the corresponding LED on the grid. This used the Python PIL library and was easy to create. I am still fine tuning the display and will upload video as soon as I have it working. I am also creating a giant game of 'Battleships'. that uses a telephone, watch this space. |
